
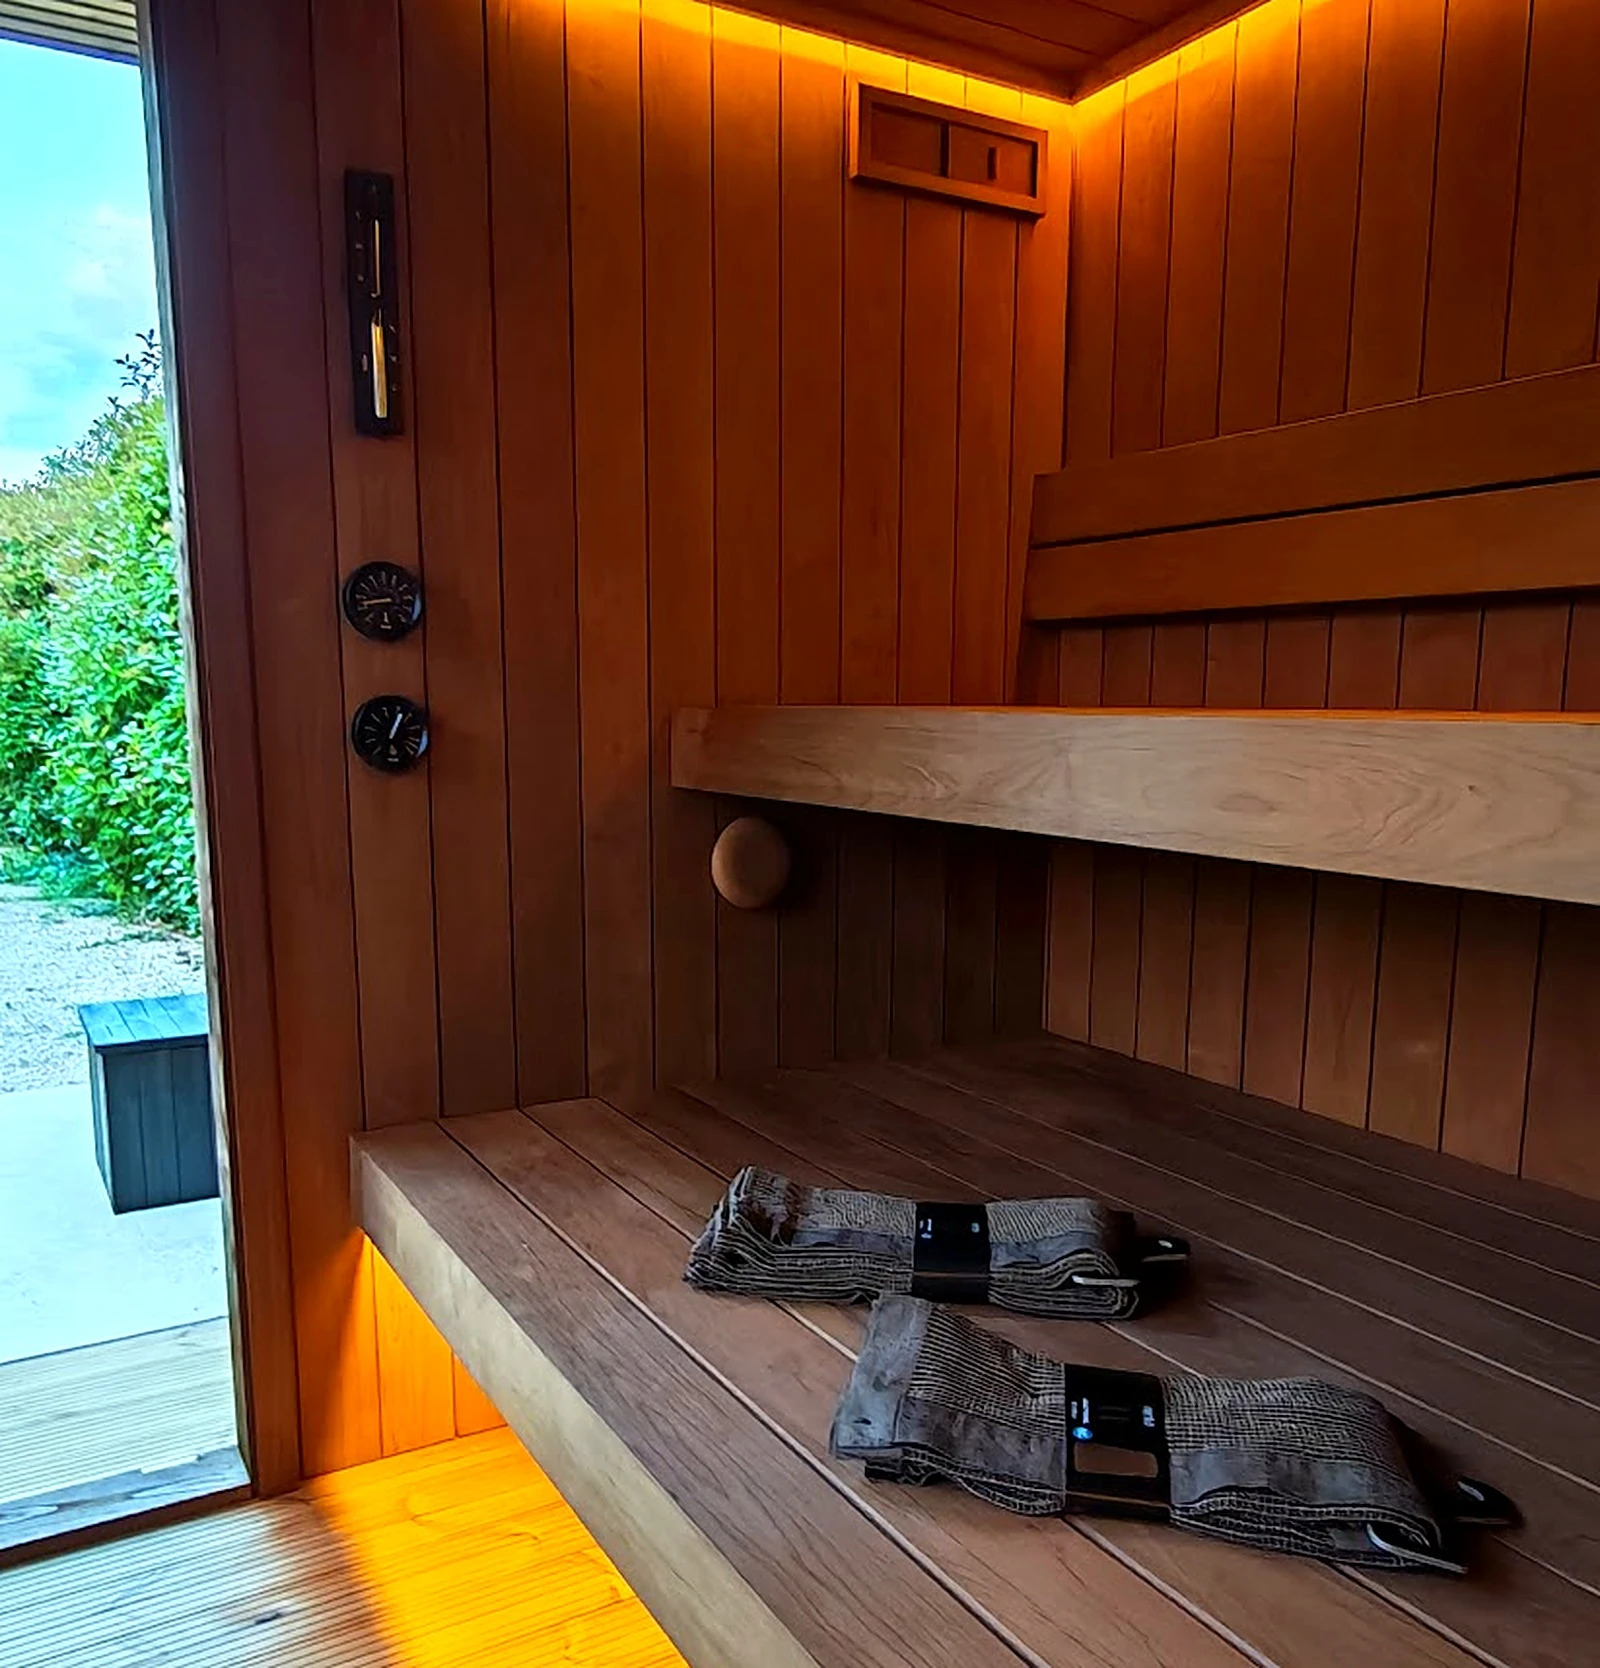
A sauna works on the principle of natural convection: fresh air enters low near the stove, the stove warms it, warm air rises and moves through the space, and stale or moisture-saturated air exits through the upper opening. When this cycle is regulated correctly, the temperature is more even, the air stays fresh throughout the session, and moisture from water pouring (löyly) does not remain trapped inside longer than necessary. When it is not — the sauna heats up more slowly, the air quickly feels "heavy", and trapped moisture accelerates wear on the wooden surfaces.
Check your handover documentation and the labels on the sauna before applying this guide. If the layout, heater or ventilation type differs from the diagram, follow the instructions for the installed equipment rather than this matrix.
Step 01Why ventilation is not just "fresh air"
Three things happen at the same time through correctly regulated ventilation:
Heat circulation. Fresh air entering low near the stove is warmed by contact with the stove and rises by convection. Without that airflow, heat remains unevenly distributed — the upper part of the cabin overheats, the lower part stays cooler, and the difference between benches can reach 20 °C. A correctly positioned intake opening helps reduce that difference.
Air quality. A closed space without air exchange becomes stuffy long before it becomes "too hot" — CO₂ and humidity rise, the glass fogs up, and the session becomes uncomfortable regardless of temperature.
Material protection. This is the part most often overlooked. Sauna wood absorbs moisture with every löyly. If that moisture is not removed by airing out after the session, it remains trapped in the wood and metal parts of the stove — over time, this accelerates the decay of wooden surfaces and corrosion of metal components. Proper airing out after every session is not optional maintenance, but part of basic use.
Step 02Three openings, three functions
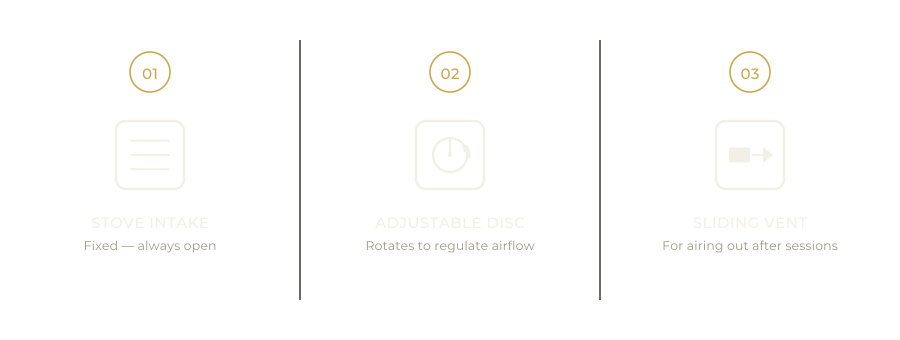
01 · Stove intake. Fixed opening, always open. It is positioned low, next to the stove — fresh air entering here immediately comes into contact with the stove and starts the convection flow. This opening is not closed in any phase of use.
02 · Adjustable disc. Rotating airflow regulator, positioned opposite the stove intake (60–80 cm from it). The adjustable disc controls how much air passes through the space during the session itself — closed while the sauna is heating up (so heat is not lost before it reaches operating temperature), partially open during the session for controlled airflow.
03 · Sliding vent. Opening below the ceiling, used for airing out. It remains closed during heating up and the session, and is opened afterwards — when all three openings are opened at once to allow full air exchange that removes remaining moisture and heat from the space.
Step 03Which opening when: phase matrix
| Opening | Heating up | During the session | Airing out |
|---|---|---|---|
| 01 · Stove intake | Open | Open | Open |
| 02 · Adjustable disc | Closed | Partially open | Open |
| 03 · Sliding vent | Closed | Closed | Open |
Heating up. Only the stove intake is open. The adjustable disc and sliding vent are closed — the sauna builds temperature without losing heat through unnecessary air exchange.
During the session. The stove intake remains open, the adjustable disc is partially opened as needed (more air if it feels stuffy or the glass fogs up, less if too much heat is being lost), and the sliding vent remains closed.
Airing out. Immediately after the session, all three openings are opened — full air exchange. This lasts until the space feels dry and fresh, typically from a few minutes until the next use.
Step 04Signals that something is not right
The air becomes heavy mid-session. Open the adjustable disc (02) further — the session does not need to be interrupted, it simply needs more airflow.
The glass fogs up more than usual. Same signal — increase airflow through the adjustable disc before increasing the heat.
The sauna heats up more slowly than before. Check that the adjustable disc and sliding vent really close fully during heating up — even the smallest gap in this phase extends the heat-up time and uses more energy than necessary.
You notice humidity or a damp smell the next time you enter. This is a sign that airing out after the previous session was not long enough. Extend it.