
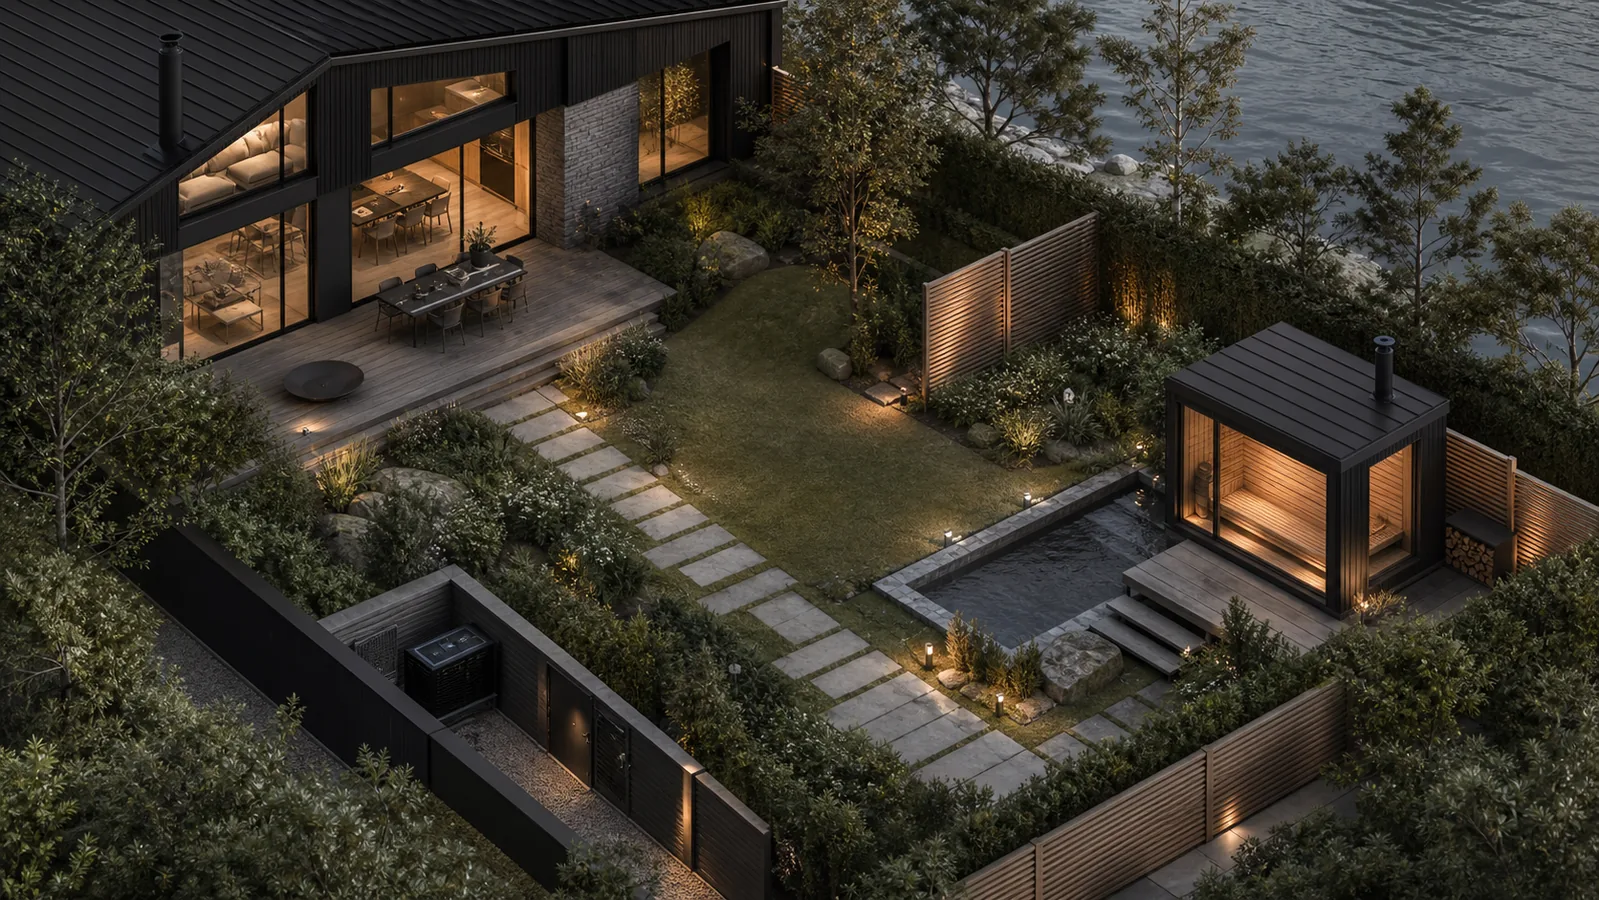
Step 01Start with the complete user journey
Imagine the full sequence: leaving the house, changing, using the element, cooling down, resting and returning indoors. A short, logical route usually supports real use better than a spectacular position at the far end of the plot.
For winter use, pay particular attention to shelter, non-slip surfaces, lighting and a dry place for towels or robes.
Step 02View and privacy are not opposites
Panoramic glazing has value only if the view remains comfortable when the interior is lit at night. Consider neighbours, public paths, upper floors of surrounding houses and the direction of evening light.
Privacy can be created by rotating the structure, using planting, adding a side screen or controlling openings without closing the whole space.
Step 03Read the site microclimate
- Sun. It affects summer comfort and heat load on dark cladding.
- Wind. It changes how the user feels after leaving a warm zone and loads covers or doors.
- Rain and snow. They require drainage, falls and a safe approach.
- Vegetation. It provides privacy but may increase leaves, moisture and cleaning.
Step 04Utilities and service access
The shortest utility route is not always the best, but every extra metre of water, drainage and electrical supply adds complexity. Filters, chillers, heaters, controls and replaceable components must remain accessible.
Do not design a finished enclosure that can be serviced only by destroying the cladding.
Step 05What to photograph and measure
Useful information includes wide photos from several angles, approximate dimensions, level changes, the desired view, the position of the house and known utilities. Photos are not required for first contact, but they speed up the spatial assessment.
A strong proposal does not begin with a render. It begins by reading the site; visualisation follows when it needs to confirm a direction that is already understandable and feasible.